And now, after years of faithful companionship, she's finally come undone. She's a wreck. She's falling apart.
 |
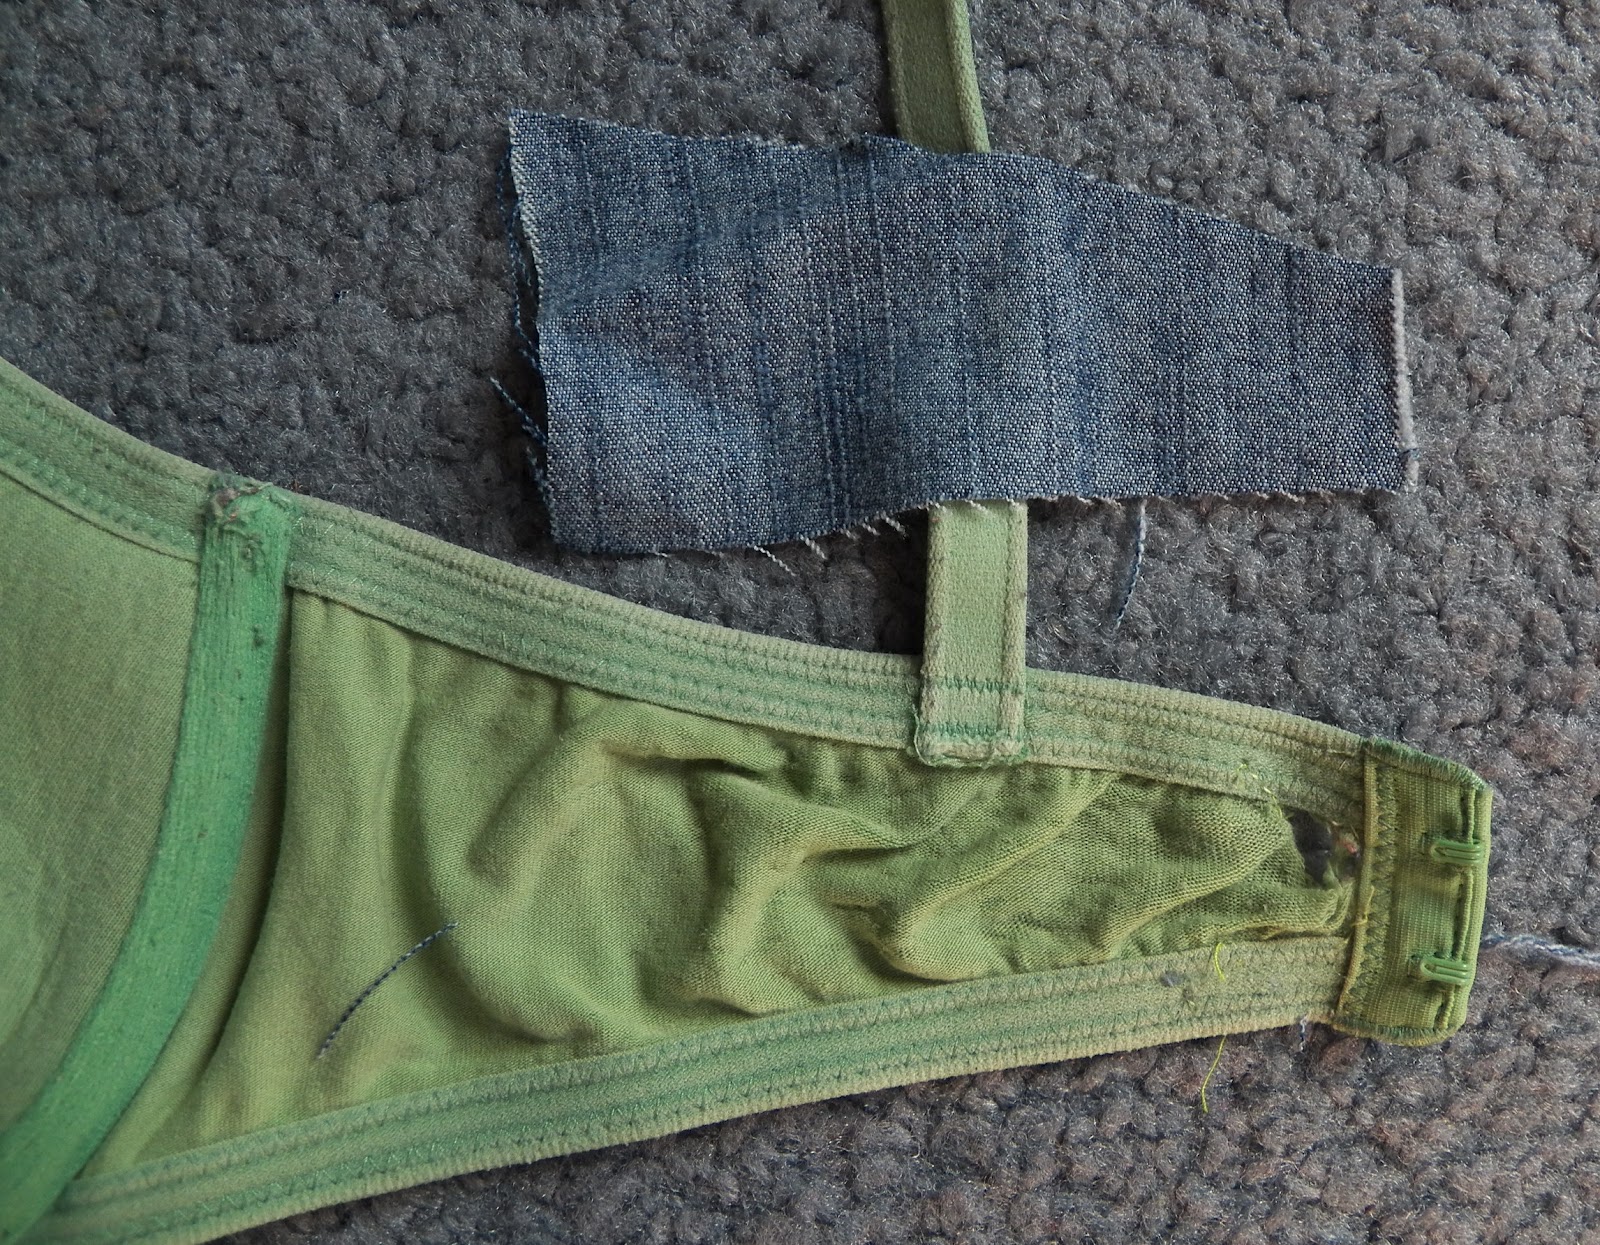
| Or in less dramatic terms, your bra has a hole in it and is rapidly losing holding power. This bra has already been repaired twice, unsuccessfully, which is why you might be able to see green and pink threads. |
What do you do? Decide to just move on, drop her off at the station and let her drop out of your life? No way! You two have had too many good times to let it end over something this small. Great bras are hard to come by, and you can't just let yours slip away from you. You're going to find a way. Together, you will get through this! To be precise, you are going to patch things up.
1. Cut a patch
2. Pin the patch in place

While you're sewing, the patch will likely be slip-sliding in all directions and generally making a pain of itself. To pre-empt this, you should ensure that the edges and a good section of the middle are secured to their intended resting places.

3. Sew.
The goal of this step is to attach the patch firmly to the damaged bra such that no more ripping occurs—not of the bra's fabric, not of your thread. To this end, you should choose a stitch meant to withstand a lot of stretching. My machine comes with a three-stitch zigzag, (the middle one in the picture), which is the one I used.Now just start at one end of the patch and keep sewing in rows until the whole thing has been covered. You are essentially "quilting" the patch onto the bra.

Except for this one:

With that small precaution taken, I'm sure you'll see many more good times with your bosom buddy!
Hi Valerie! That's a witty introduction, and it actually made me smile. Hehe. I'll definitely share this post with my girl, so she'll never have a neglected bra, ever. Yes to more good times! :)
ReplyDelete