This refashion ended up being so complicated, it was almost like sewing something from scratch, without the benefit of a pattern!
It begins a whole summer ago, when I was at the beach. Tired of fighting with sun hats and umbrellas, I decided I really needed a swim cover-up. It's my arms and shoulders that take the brunt of the sun, so I wanted something that would keep them protected. That meant I needed something long-sleeved, but light and airy enough that I wouldn't get hot while wearing it. I explored the shops. Ocean City has no shortage of cover-ups, I learned, but they are mostly sleeveless or strapless, and wouldn't do at all. I checked a few outdoorsy websites and a few fashion websites, but still couldn't find anything to meet my exacting standards. So, I decided to make my own!

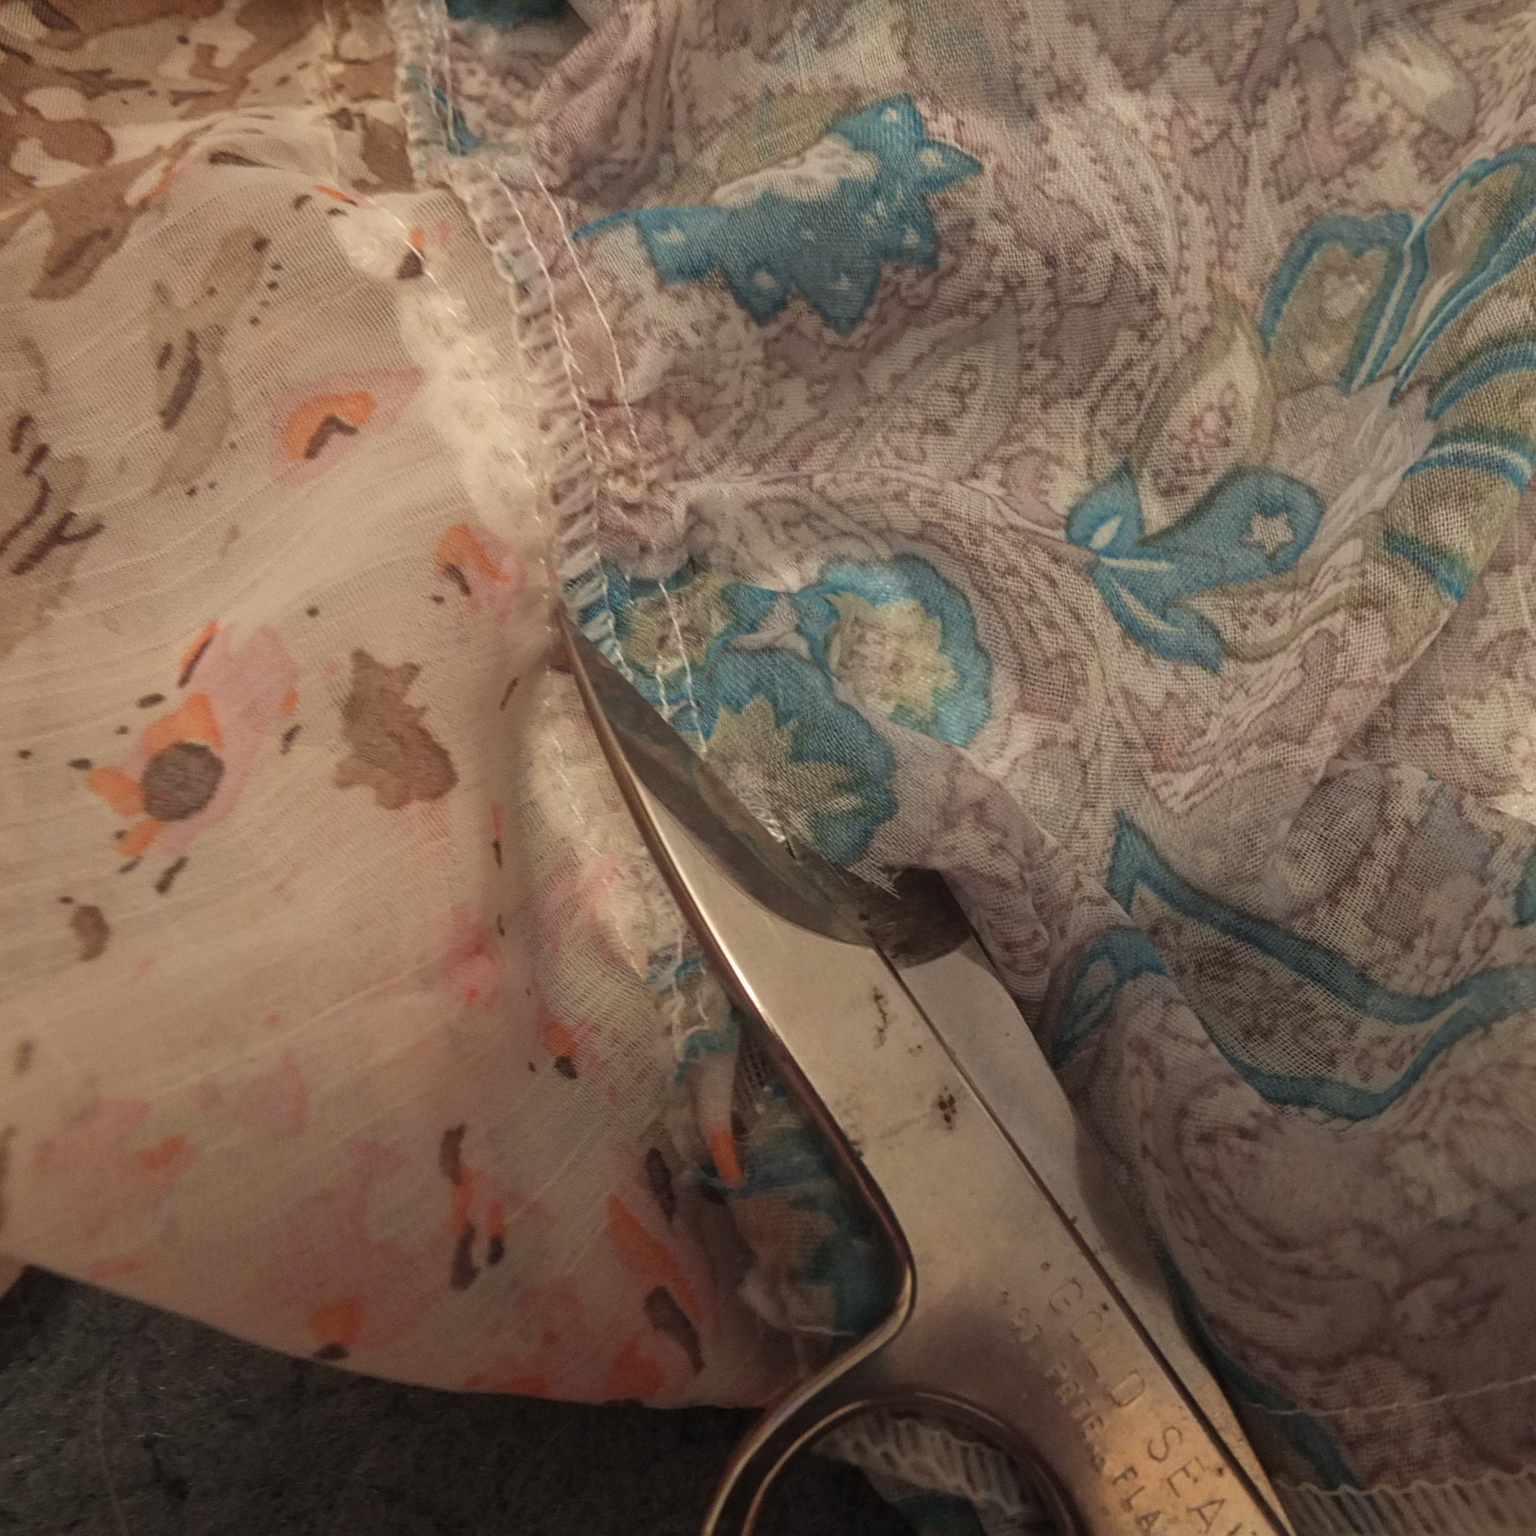
 Next step was to remove the bottom tier, which I did the quick and dirty way, with scissors (as opposed to a seam ripper!)


I started with a sundress I already had in my closet. There wasn't anything wrong with it, but I didn't love it, and the last time I'd worn it, both the straps had broken off, so it was due for some alterations anyway. I was just going to alter it way more than it could have ever imagined!
There was plenty of fabric in the bottom tier to make sleeves out of, so my plan was basically to remove the bottom tier and move it to the top.
This, however, would necessitate lowering the bodice, so first I had to pick out all the smocking in the back. The straps just kind of fell off at some point during this task. No photos of this step, sorry!
 Next step was to remove the bottom tier, which I did the quick and dirty way, with scissors (as opposed to a seam ripper!)
At this point, I decided I wanted new dress to have an open front, so I could throw it on and off like a robe. I decided to open up one of the existing side seams for that purpose, which meant it was time for seam-ripping.

If I had had some foresight, I would have noticed that the lace trim strips between each tier were sewn all around the dress and were joined at one of the side seams, so I should have opened that seam. But that didn't occur to me til later, so in the end, I also had to cut through each piece of lace.
Now the former dress was basically one big long infinity scarf (the bottom tier) and a sheet of fabric made of three pieces (everything else).

I wrapped the sheet around me to get an idea for where I wanted it to lie when finished, then measured how much distance there was between the top of the fabric and the top of my shoulder.
Measuring yourself while holding a voluminous piece of fabric around you and while wielding a heavy camera is not a task for the faint of heart, but after all that effort, I determined that I would need my fabric to be about 10 inches long, to form the yoke.

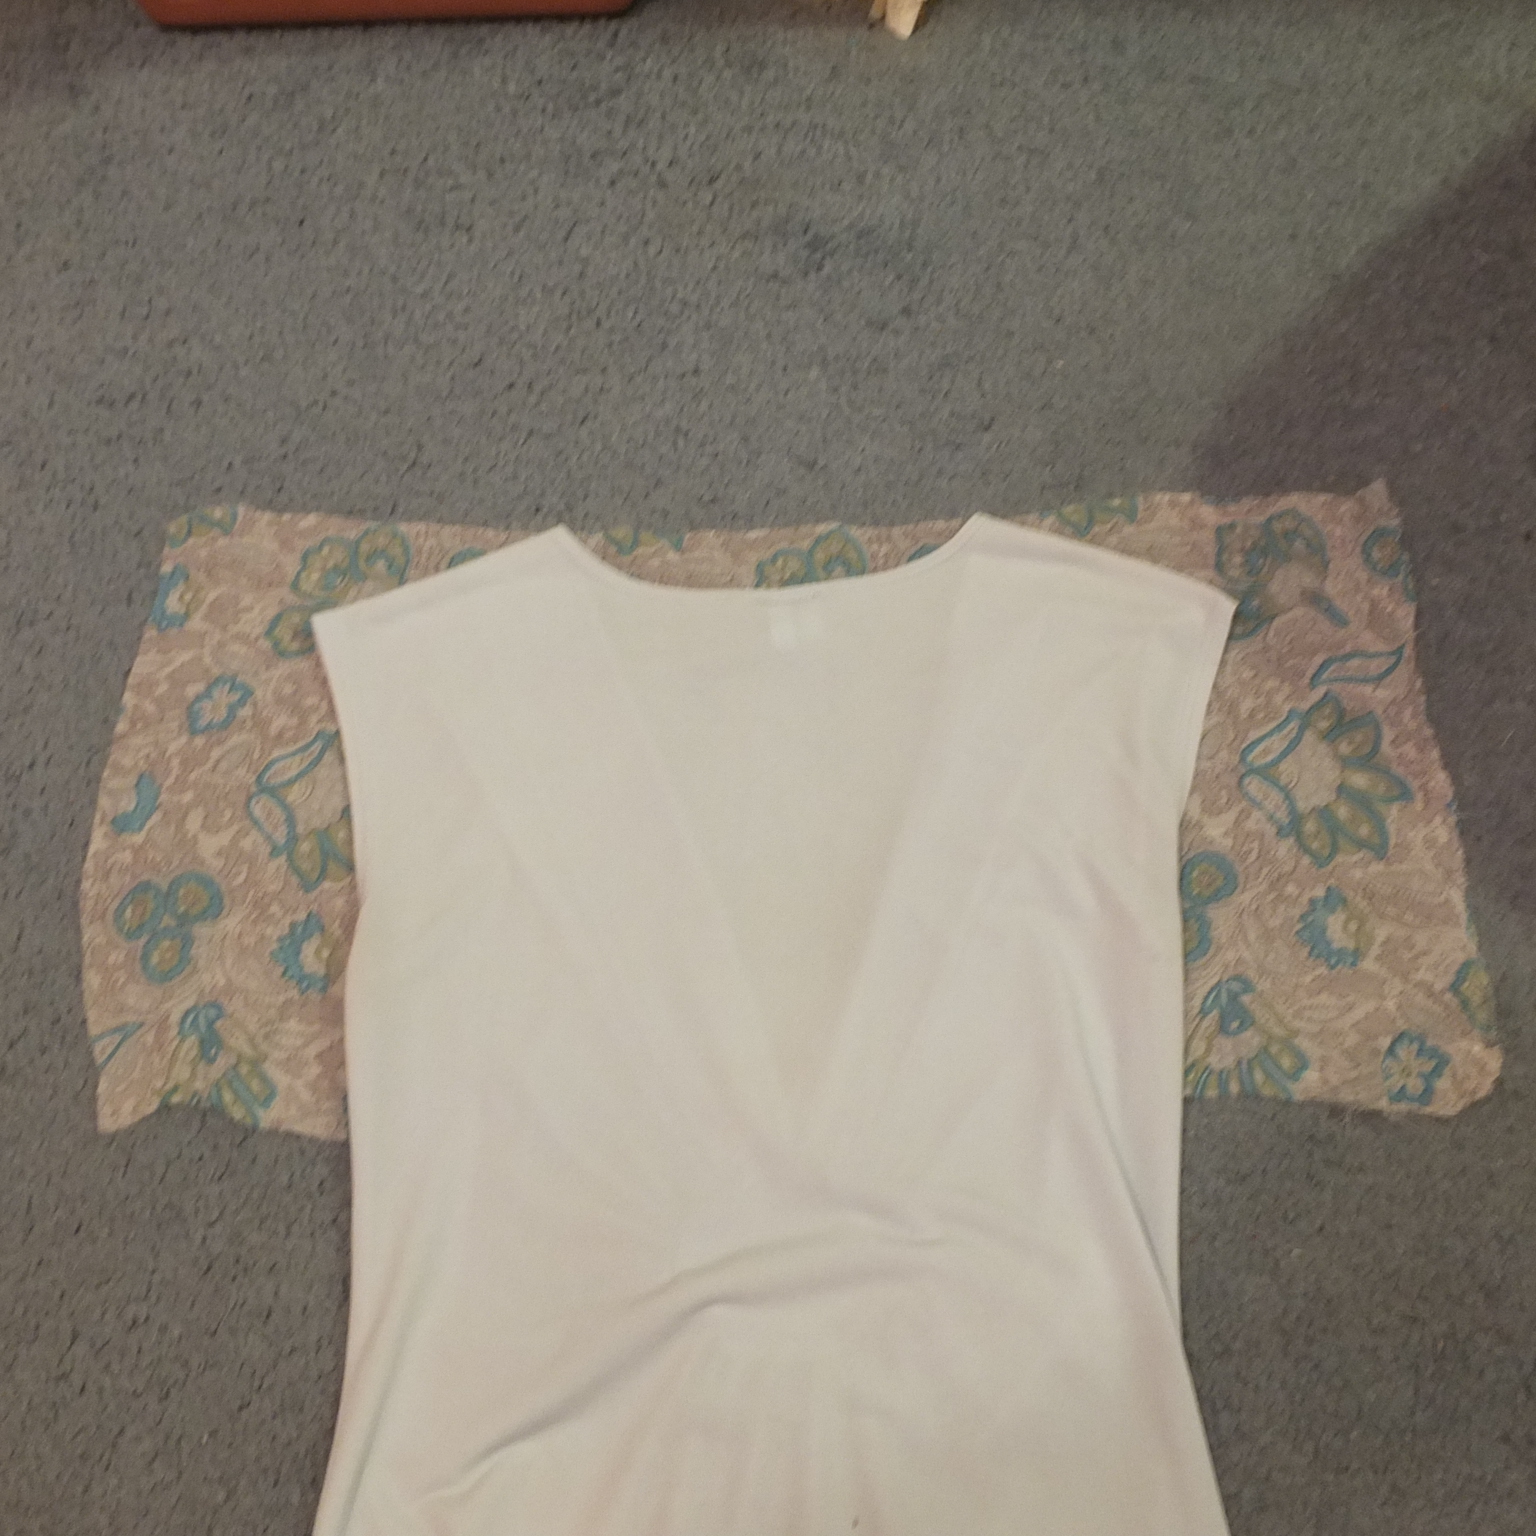
I laid the fabric next to the existing bodice to determine the width.

Then I marked the height, adding an inch (for a total of 11 inches) for seams, and cut the two pieces of fabric out. They were still joined by part of the original side seam, so I had to rip that out after the cutting was done.
Next, the neck. Since I was going to have an open front, I didn't want to create a neckline for the front yet, but I would need a neck opening for the back. I used a shirt with a neck opening that I thought would be a good size, and traced around it. Then I cut, setting it in by a half-inch to allow for a shoulder seam.

Finally, the time for cutting and seam-ripping was done, and I was ready to start sewing! I began with the shoulder seams. In fabric this thin, it was really hard to determine which is the "right" side and which is the "wrong," but I did my best to put the "right" sides together and then pin and stitch across the top of the shoulders, using the longest stitch my sewing machine has. Later on, I planned to reinforce those seams once I was sure I liked their placement.

I cut down the middle of the front of the yoke to create the front opening.

Then, I set about attaching the yoke to the skirt. Since this fabric is so light and slippery, I used safety pins rather than my usual stick pins which kept falling out. (Shown here before pinning)

Then I tried it on in the mirror to see how it was turning out. Looked OK, so I went ahead and replaced the safety pins with stick pins, and sewed over them (again, with a long basting stitch) to make the attachment permanent.
Now it was time to attach sleeves. I debated with myself about whether I should cut proper inset armholes, like a normal shirt, or just add them to the existing boxy thing I had. Ultimately, I decided on the latter because it would be simpler, hoping that with such a drapey fabric, it wouldn't matter that the sleeves were attached somewhere past my shoulders. And if I didn't happen to like it, it would be easy enough to remove the seams and try again.

It turns out that the bottom tier of the dress was just tall enough to fold in half to form a sleeve. I measured enough length to make a sleeve that would at my natural shoulder, knowing that I would not need quite that much since the shoulders of the dress were already so extensive. Then I used that piece as a template to cut the second sleeve.
Turns out the sleeves were just a tad smaller than the openings I'd left in the shoulders, so I sewed up the side seams to reduce the arm opening, then attached the sleeves to the shoulders, finally sewing the seams in the bottom of the sleeves.

I now had something recognizable as a dress, albeit with a lot of raw edges! I had to decide how to do the front closure, so after a few days of thinking about it, I decided I would use ribbons to tie it in two places: once at the bust, and once at the neckline, for a nice, high, sun-protecting (but optional) collar.

That meant I first had to cut the square front into a round neck.
Then I finished the neckline using a rolled hem. I'm not very adept with a rolled hem yet, but I do appreciate how easy it makes hemming a thin fabric. Just fold it over, stick it into the curvy part of the rolled hem foot, and start sewing! One of these days, I'll figure out exactly how do a rolled hem so it's not all wavery, but I'm just pleased I got it at all.

My next step was to finish most of the remaining edges. Empowered by my "success" at the neckline, I chose to do another rolled hem down the front, which resulted in more wavery lines, but whatever. I can only go forward now!

To make the ribbon tie, I used one of the original side-ties.

I cut it in half, sewed up the raw end, and attached it to the neckline in such a way that it would look natural when hanging open.
Then I did the same for the tie in the bust area.
Now the front was finished, and all the was left was to finish the sleeves.
They were excessively long, but I kind of liked them that way (a sun shield for my hands!). At the same time, I knew they would get in the way and wanted a way to pull them up when needed. For that, I went with more ribbon ties, this time using the original straps.

First I hemmed the ends of the sleeves by folding them over three times, creating a tunnel in which to house the ribbons.
I lost or didn't take any pictures after this point, so you'll have to use your imagination.
Using my bodkin, I threaded the ribbon through the sleeve hem, then, because the ribbon wasn't quite as long as the circumference of the sleeve opening, I sewed the two ends together so they couldn't get drawn back into the sleeve.
Now I can wear the sleeves long and natural, or tug on the ribbons to gather them up above my wrists, as you can see in the two photos below!


I had to wait a whole year before I could wear this dress (as you might have guessed, I don't go to the beach much!), but finally I had my chance in Hawaii.
 |
| Here it is with both ribbons tied |
 |
| And here it is with the collar open for an easy-breezy look! |
It didn't fall apart, so that's a plus, though after all that work, I'm honestly not sure how much sun protection it actually affords.
No comments:
Post a Comment